
Earlier this month, I ran out of money. I don't mean, I had only a little left, I meant, a stone cold broke zilch.
Oh dear.
Anyway! Its now the end of the month and things are starting to happen again! So let me fill you in....
The wings on the Capri, and indeed any Capri, were rusted, but not so badly that they needed to be thrown away, I think they are salvageable. But they still have to come off, and this means doing it without destroying the wing in the process.
Balls.
When I have read up on wing replacement, everyone just said to cut off as much metal as possible and slap on a new one! Well that isn't possible here..because I am keeping the wing!
So here we are, the First 10 steps into how to remove a wing.
Step One...
Sit down and consider buying a new car. Whilst crying.
Step Two...
Realise you are actually a lot mainlier than everyone thinks, and compensate by buying £150 worth of new tools. I satisfied this with a new compressor and a cut off tool!
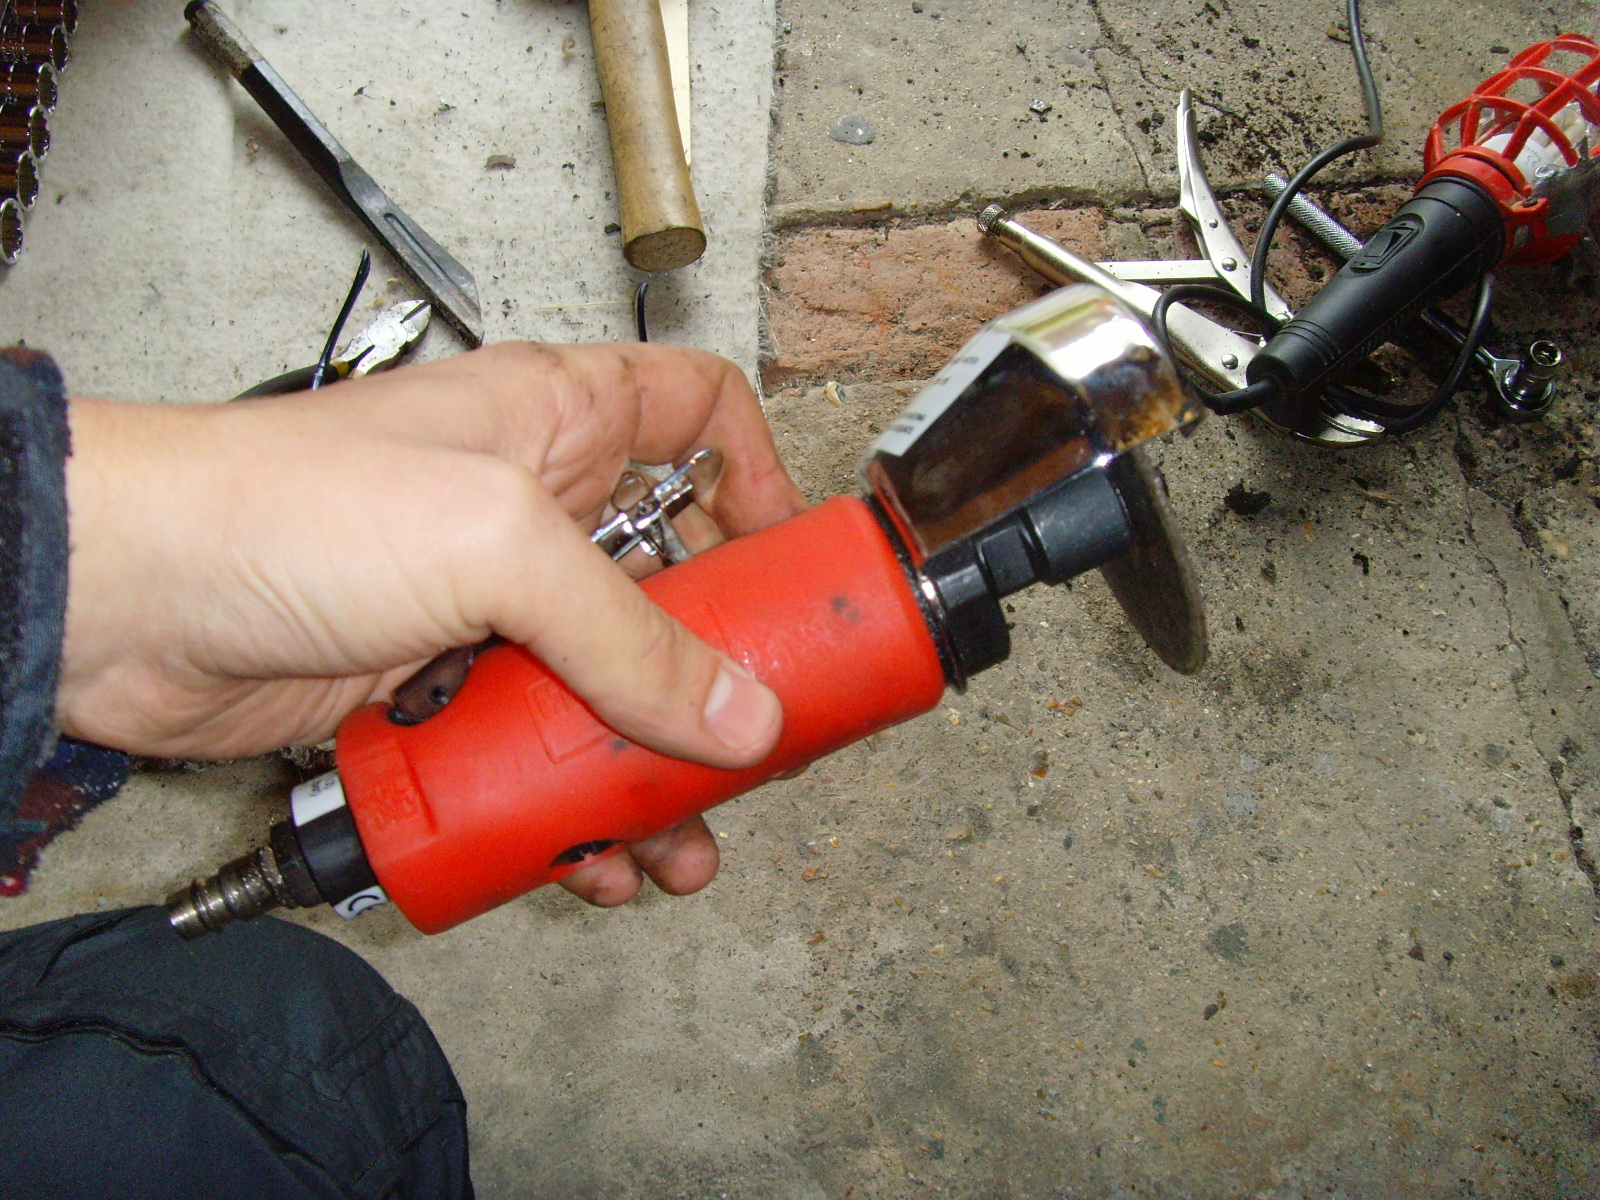
Look at it! Its red and everything! Nothing says matcho amateur mechanic like your shiny red tool.
Truth be told, this is actually a very handy devise, its not quite as vicious as a conventional angle grinder, and the right angled blade is very practical!
Step Three...
Right, put on your strong pants and have a cup of bovil ready, the next step is horrible if you have never butche....err...restored... your Capri before.

 In an ideal world, you would find the spot welds along the drip rail (seam) and drill them out one by one, and use a cold chisel to pry to the two pieces of metal apart. Apon which the wing would pleasantly plop off and we would all go inside the warm house for tea and medals. As is seen in this picture >>>
My drip rail was made of dust. I don't know what was actually holding on the top part of the wing but it can't of been too far from magic. Cut it off if you have the same problem as me. Its actually quite enjoyable when you get past the initial terror of purposely destroying your own car!
HOWEVER. If you do do this, cover the windscreen with something suitably tough, as the spray from the angle grinder will happily haze up you windscreen. As I did with mine. Lucky I am having to replace it then ay!
This picture shows how much awesome fun it can be!

Step 4...
Stand back and admire your shocking handywork. If you have done it correctly, the cut should be cock eyed and wonky. Preferably you should also be bleeding. If not repeat step 3. If your cutting is as sketchy as mine, go over the seam with a metal grinding disk, and take back any edges to flush metal. Giving it a cheeky spray of WD 40 will also stop rust from forming if you are leaving it unpainted for a week or so. Any more a coat of primer wouldn't go amiss.
Step 5...
After cutting the seam off, try to prise the wing away from the inner wing as much as you can, a chisel and a hammer work magic here. As you can see the front part of my inner wing is dust anyway, so this came away with relative ease! Rust for once was a help! But it does mean I have to replace the front section of the wing in due course....

Step 6...
Chase the seam around the headlight bowls, some cutting may be needed here as this is where rust usually holds the wing on rather than any mechanical means! If you are re-using the wing as I am, I suggest you re-weld on a new drip rail to the inner wing, and then weld on outer wing supports. Push the wing so that the panel gap between the bonnet and wing are correct again, and mark on the inner wing with paint of tip ex (if you don't have a white capri!) where the two meet up so that when you put the wing back on, finding the correct fitment position won't be a pain in the arse! This will be included in the next part called "10 MORE STEPS TO REMOVE AND RESTORE A WING!'
If you continue to follow the seam around you will work your way into the headlight bowl surround. As seen again on mine, this is just rust (can anyone else see the re-occouring theme here?) so a quick grind and the thing came off.

Again in an ideal world you would drill out the spot welds and the tab would unpop. If you can see the tab in the above picture you are a better person than me. Because its vanished in a pile or corrosion!
Step 7...
Bring on the fun! After that seam there are only three bolts holding on the front of the wing.
Bah...its only three bolts! How hard could that be!
A days work.
Here are the culprits...

There is one out of view in this picture, but thats the three. The picture needs to be rotated but the button appears to have disappeared. Please tilt your head 90 degrees left.
After introducing penetrating fluid and heat two of them came off. The third (lowest) was stuck fast, so I just cut right through the tab with my the cut off tool.

It is a tad out of focus, but you get the idea! After which, the front part of the panel should look like this...

If you have done it properly your socket set should look like this:

Oh well serves me right for using cheap tools! I thought I had rounded the head of one bolt, to find the bolt head sharp as a knife, but the socket rounded!
Whaaa?
Step 8...
Swear. A lot. Or beast your children if you have them. You should have no knuckles if you have managed to get the bolts off. Less skin = Job well done.
Step 9...
Plan.
If like me you are going to be putting the wing back on after refurbishment, then leave reference marks everywhere so that the panel will fit back on a dream (in theory!) without having to bash it into shape. Take your time when removing the wing, its not a race, and you will find it will come off quicker if you are not in a rush. I am lucky in having two cars, so when I get fed up with the capri I can go inside and still make it to work in the morning! If you do not have this luxury...get back in the garage.
Step 10...
I don't have a 10th. Apparently I overstepped myself looking for a catchy title. I suppose you could use this step to clean the garage? Or play with the cat?
In the next instalment I will go over removing the back of the wing. I will post a link to that in this blog when I have written it.

ISN'T SHE PRETTY! And yes she is running! Hearing it start up from time to time makes you remember the car is still alive, and after all your hard work, you will be able to enjoy her blasting down some B roads.
Until you break down ;)
F *****s
O nly
R oll
No comments:
Post a Comment